Blog-Hexo
使用hexo创建博客网站
修改hexo的链接
在根目录的config里 原生成: permalink: :year/:month/:day/:title/
修改为: permalink: :title/
Blog创建
参考文献
创建并第一次运行
1
2
3
4
## npm install hexo-cli -g
hexo init blog
cd blog
hexo server   ## hexo s
创建新blog
1
hexo new "My New Post"
Github
github.io
下载插件到根目录
1
npm install hexo-deployer-git --save
用编辑器打开目录中的 _config.yml 文件 先上面的 url 和 root 补充完整,不然会没有 css 样式和 js 脚本 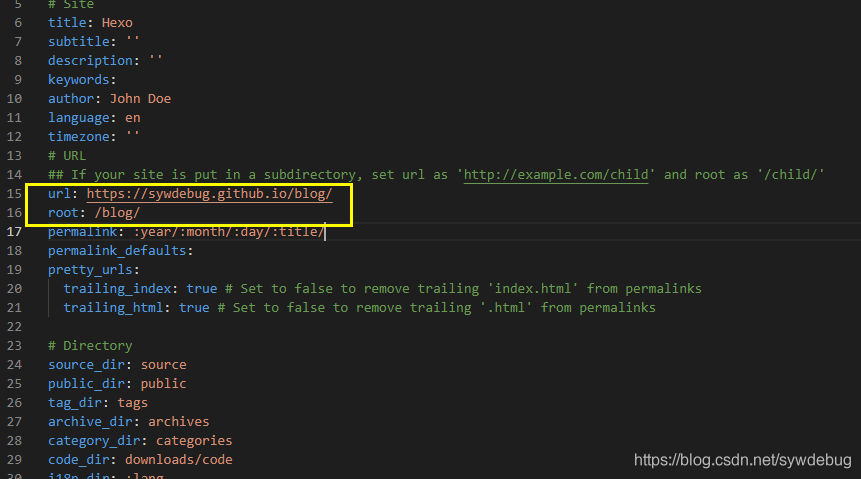
关于root的深入理解 以及 解决自定义url后出现的无法加载资源问题 如果是靠 liuyifei.tech/blog 连接就不会出问题,如果单独设置了一个CNAME连接比如’blog.liuyifei.tech’,并将root设置为 /blog 那么发送请求就变成了 blog.liuyifei.tech/blog/ 就不对了, 我们需要blog.liuyifei.tech,所以这时候只需要将root设置为../即可。 暂时放弃子域名链接,由于hexo的结构经过长时间维护已经很混乱,对于不同的url解读代码太过分散,修改太浪费精力了,以后有时间自己写。
也可以加上 branch:[自定义分支名称] 和 massage:[自定义提交消息]
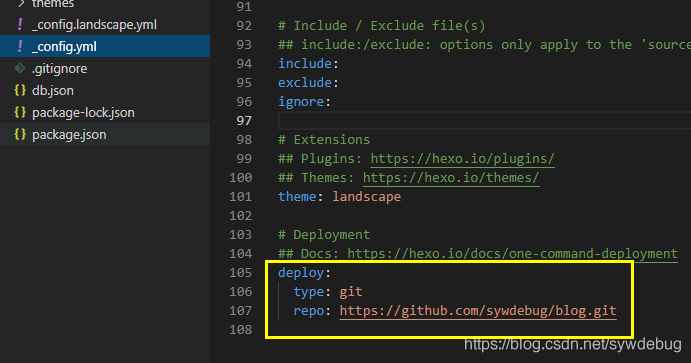
保存后执行 hexo generate 更新本地代码或执行hexo clean删除本地代码 执行 hexo deploy 生成本地代码并推送到 github 库
1
2
3
4
hexo clean ## 清除已生成文件及缓存
hexo generate ## 生成静态页面,简写做hexo g
hexo deploy #推送到github库,简写做hexo d
hexo server ## 启动本地WEB服务器,简写做hexo s
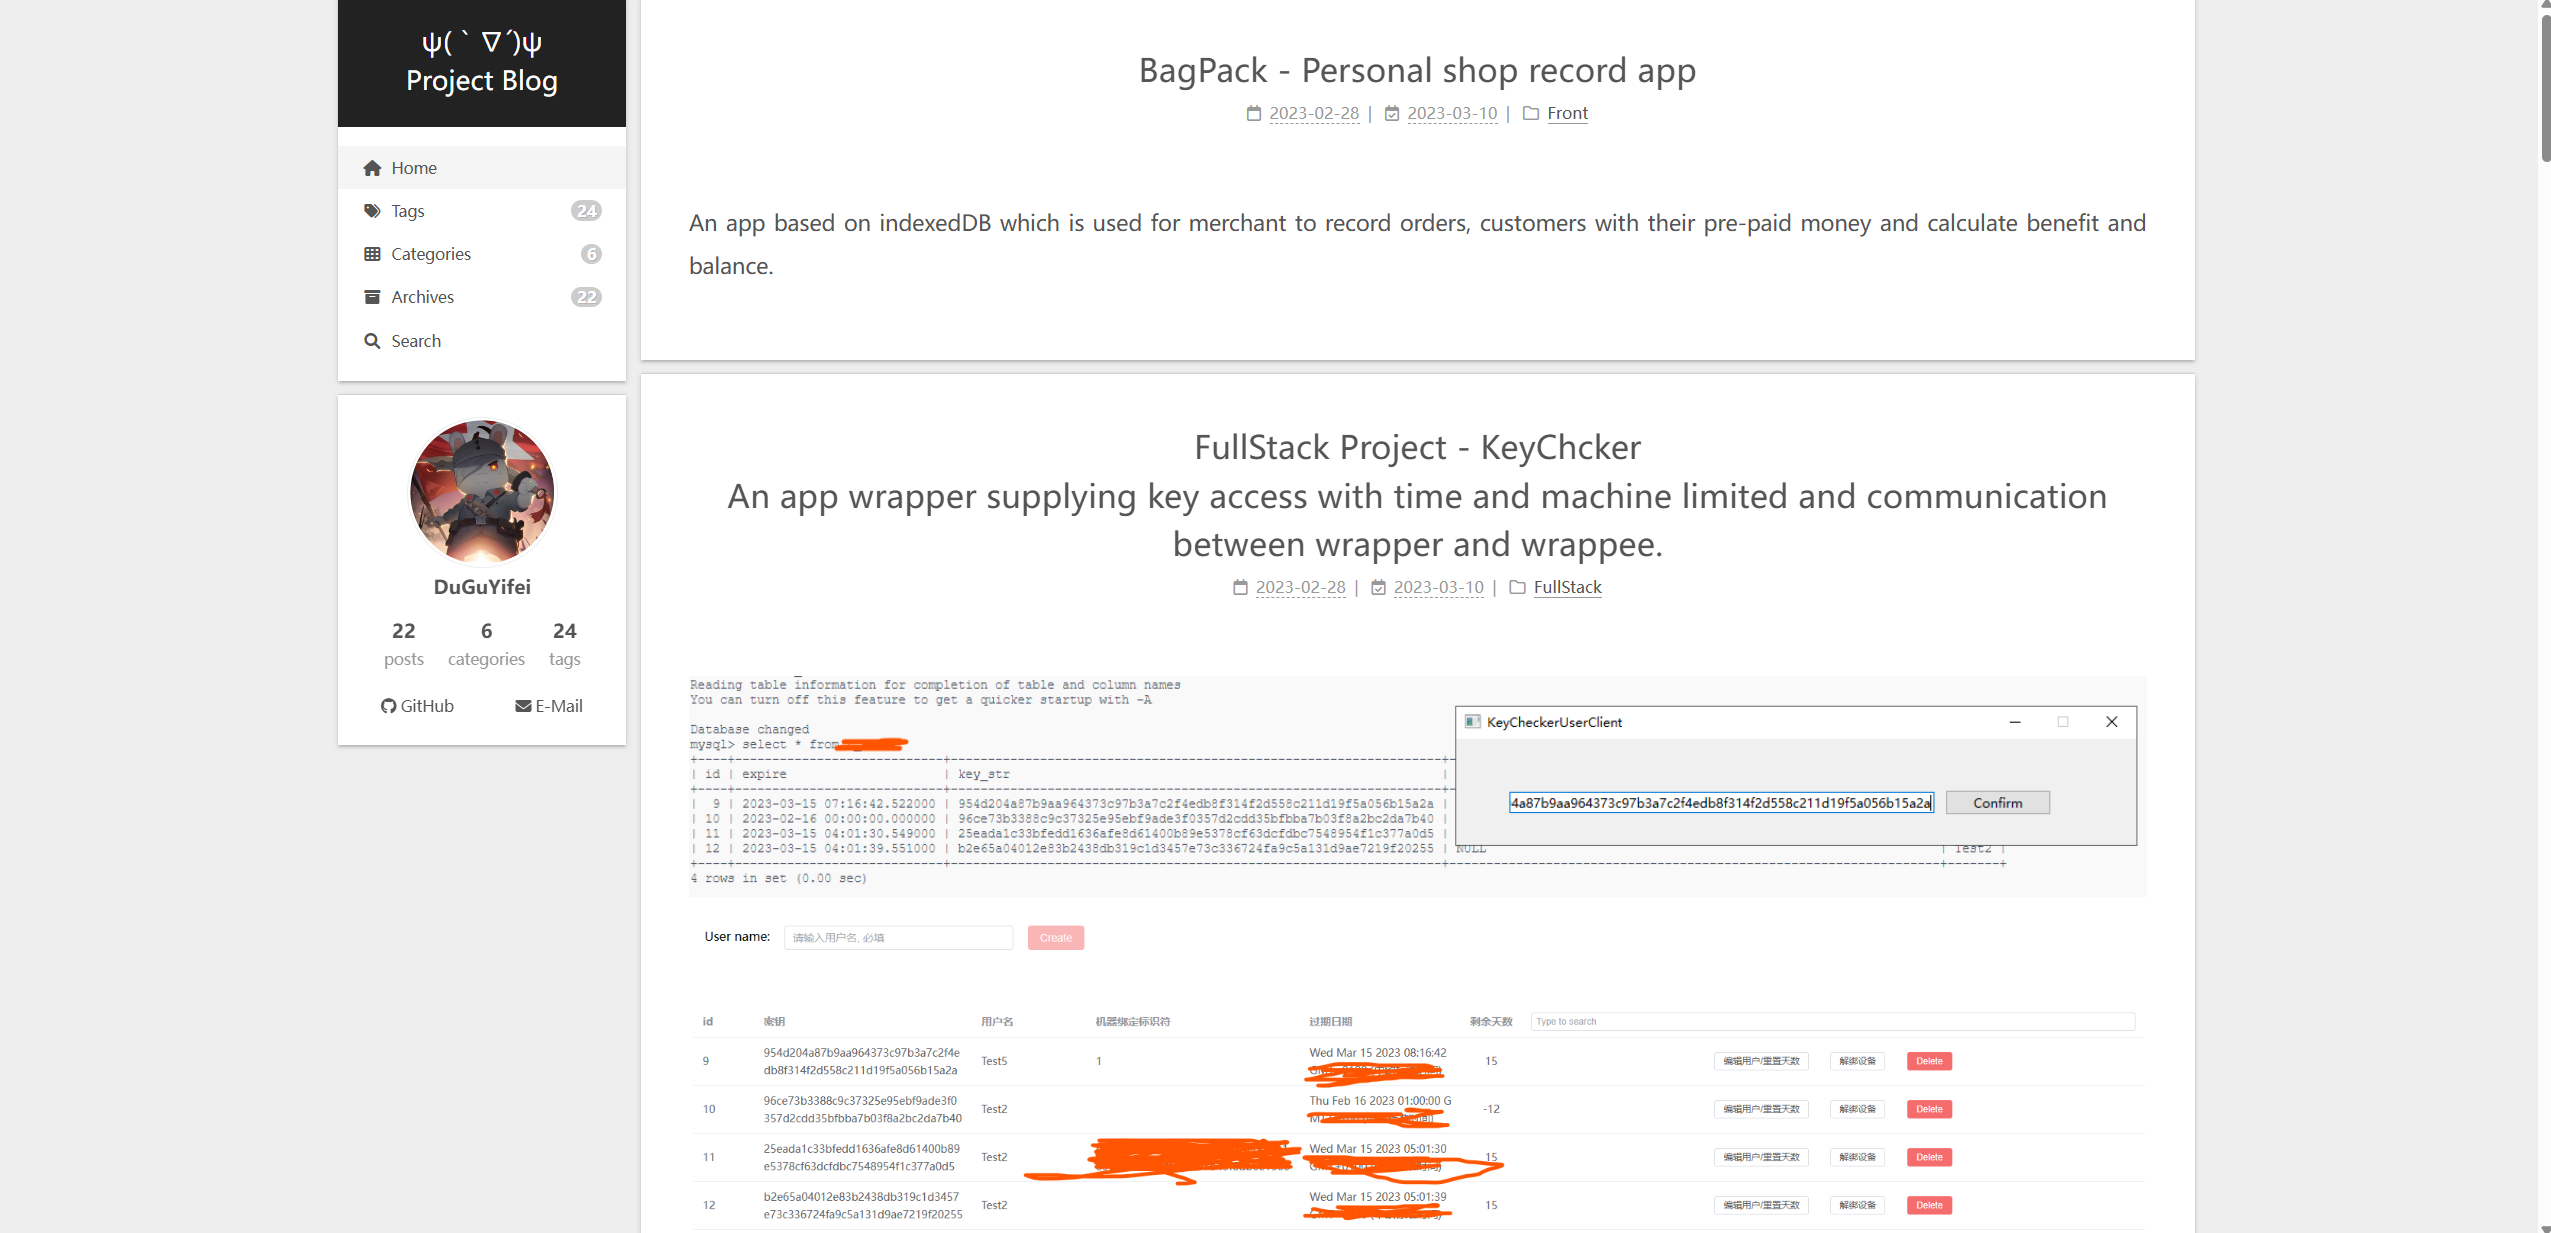
不一定是github.io仓库
github只要是gh-pages的branch都可以同过github.io/project来访问,所以可以看上图中的deploy的url并不是io仓库
Blog定制
主题修改
git clone 主题到themes下即可
比如next主题
1
git clone https://github.com/next-theme/hexo-theme-next.git themes/next
下载后config里的参数可以参考最上面的链接,但其实config里都有详细注释
添加搜索功能
下载:npm install hexo-generator-searchdb --save
修改主题config
1
2
3
4
5
6
local_search:
  enable: true
  trigger: auto
  top_n_per_article: 1
  unescape: false
  preload: false
写进根目录config
1
2
3
4
5
6
## Search
search:
  path: search.xml
  field: post
  format: html
  limit: 10000
修改文章内链接文本样式
在 /themes/next/source/css/_common/components/post/index.styl 内添加以下代码即可
1
2
3
4
5
6
7
8
9
10
11
// 文章内链接文本样式
.post-body p a{
  color: #0593d3;
  border-bottom: none;
  border-bottom: 1px solid #0593d3;
  &:hover {
    color: #fc6423;
    border-bottom: none;
    border-bottom: 1px solid #fc6423;
  }
}
添加tags和categories
1
2
hexo new page categories
hexo new page tags
在生成的两个新文件夹source/tags和source/categories下,将自动生成地index.md的开头修改为
1
2
3
4
5
6
7
8
9
10
11
12
13
14
---
title: categories
date: 2022-08-13 19:49:11
type: "categories"
---

和

---
title: tags
date: 2022-08-13 19:44:52
type: "tags"
---
然后在写博客时添加
1
2
3
4
5
6
7
---
title: Hello World
categories:
- Blog
tags:
- Blog
---
即可
另外,需要在next的config文件里将tags和categories取消注释
1
2
3
4
5
6
7
8
9
menu:
  home: / || fa fa-home
  #about: /about/ || fa fa-user
  tags: /tags/ || fa fa-tags
  categories: /categories/ || fa fa-th
  archives: /archives/ || fa fa-archive
  #schedule: /schedule/ || fa fa-calendar
  #sitemap: /sitemap.xml || fa fa-sitemap
  #commonweal: /404/ || fa fa-heartbeat
Blog文件间链接问题
忽略下方方法,根本原因
直接使用绝对路径/开头即可,如 /attachments/image.png
方法一 我不喜欢
不能 [](ABC.md) 只能 [](../ABC)
方法二
修改\node_modules\hexo-renderer-marked\lib\renderer.js里link函数:
1
2
3
4
5
6
7
8
9
10
11
12
13
14
15
16
17
18
19
20
21
22
23
24
25
26
27
28
29
30
31
32
33
  link(href, title, text) {
    const { external_link, sanitizeUrl } = this.options;
    const { url: urlCfg } = this.hexo.config;

    if (sanitizeUrl) {
      if (href.startsWith('javascript:') || href.startsWith('vbscript:') || href.startsWith('data:')) {
        href = '';
      }
    }

    let out = '<a href="';

    // 开始修改
    try {
      let temp = encodeURL(href);
      if(temp.endsWith(".md")){
        temp = "../" + temp.substr(0, temp.length - 3);
      }
      out += temp;
      //out += encodeURL(href);
    } catch (e) {
      let temp = href;
      if(temp.endsWith(".md")){
        temp = "../" + temp.substr(0, temp.length - 3);
      }
      out += temp;

      //out += href;
    }
    //停止修改

    out += '"';
    以下省略...
markdown语法用于hexo
将config里:
post_asset_folder: true设置位true再次
hexo new "ABC"时会自动创建ABC同名文件夹,将图片放入其中使用语法
即可
Blog首页文章不要全展开问题
将next主题的config里的excerpt_description: true设置为true
然后在开头添加description即可
1
2
title: ***
description: ***
也可以在文章中加入
1
<!--more-->
将文章截断显示
目标
解析到 ‘blog.liuyifei.tech`
放弃这样做,由于hexo的结构经过长时间维护已经很混乱,对于不同的url解读代码太过分散,修改太浪费精力了,以后有时间自己写。
无法加载资源的问题
用编辑器打开目录中的 _config.yml 文件 关于root的深入理解 以及 解决自定义url后出现的无法加载资源问题 如果是靠 liuyifei.tech/blog 连接就不会出问题,如果单独设置了一个CNAME连接比如’blog.liuyifei.tech’,并将root设置为 /blog 那么发送请求就变成了 blog.liuyifei.tech/blog/ 就不对了, 我们需要blog.liuyifei.tech,所以这时候只需要将root设置为../即可。
CNAME文件
将CNAME文件直接放在source下即可,不要放进_posts
DNS解析
